
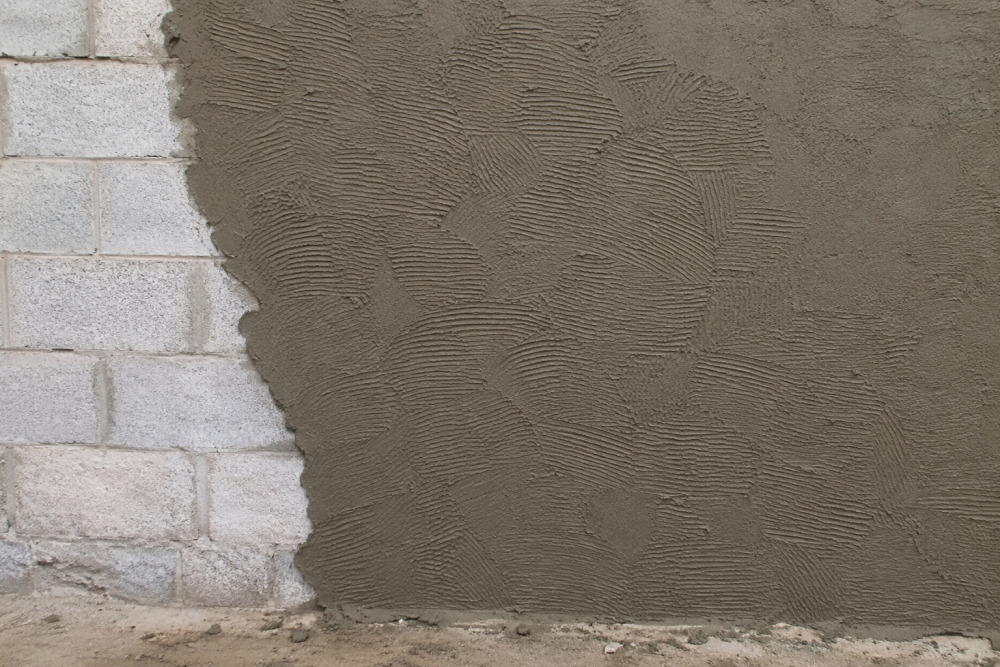
Bonding plaster is an undercoat plaster for dense, low-suction backgrounds where browning won't adhere. Concrete blocks, in-situ concrete, painted surfaces, smooth brick. If the wall doesn't have enough suction to hold a standard browning coat, bonding is what you use instead.
It's gypsum-based, goes on at 8 to 12mm thick, and works by creating a mechanical key on surfaces that would otherwise cause the finish coat to fail. Unlike browning, which relies on the background absorbing moisture to set properly, bonding is formulated to grip where that absorption just isn't there. That's the core difference, and it's why using the wrong product on the wrong background causes problems further down the line.
What Is Bonding Plaster Used For?
Bonding plaster prepares dense or non-porous surfaces before a multi-finish skim and it is the right undercoat when the background won't absorb enough moisture for browning to grab hold.
New builds with dense aggregate blocks are a common scenario. So are older properties where a room has been painted over so many times the wall is now effectively sealed. Concrete ceilings, soffits, patch repairs into existing smooth plasterwork. It's also a better option than browning when you need a thinner build-up, since it's lighter and feathers back more cleanly on smaller areas.
Board and skim jobs throw up situations where different background types meet mid-wall, and bonding is often what brings them level before finishing. Any time you're looking at a surface that just isn't going to drink in the browning, bonding is a great place to begin.
Is Undercoat Plaster the Same as Bonding?
Many (reasonably) wonder this, but the two aren’t the same. Bonding is a type of undercoat, but so is browning. The category is undercoat plaster. Which product within that category you actually need comes down to the background.
You can test first by flicking water onto the surface, and, if it beads or sits there, it means low suction and that bonding is going to be helpful. If it absorbs quickly, browning will do the job. It sounds basic but it's a reliable read before you mix anything up.
Bonding vs Browning vs Multi-Finish
Product | Background Type | Suction | Applied Before | Thickness |
Bonding Plaster | Dense/smooth: concrete, low-suction brick, painted surfaces | Low | Multi-finish skim | 8 to 12mm |
Browning Plaster | Standard brick and block | Medium to High | Multi-finish skim | 11 to 14mm |
Multi-Finish | Over bonding or browning coat | N/A | Paint/decoration | 2 to 3mm |
Multi-finish never goes directly onto raw masonry. It needs a keyed undercoat first, whether that's bonding or browning. Skipping that step is one of those shortcuts that looks passable for a few weeks before it starts to move.
Worth saying clearly: multi-finish isn't there to add thickness. At 2 to 3mm it gives you a smooth, paintable surface. If the undercoat beneath it isn't right, no amount of careful skimming fixes the problem.
Do You Need PVA Before Applying Bonding Plaster?
On dusty or very smooth surfaces, yes. Diluted PVA at around 1:4 or 1:5 with water, applied the day before, stabilises the surface and evens out suction. On sound, clean backgrounds some plasterers skip it and rely on scratching the surface instead. The easy test is to drag a nail across it. If it pulls dust or crumbles, PVA it.
One thing that catches people out: the PVA needs to go tacky before you plaster over it. Applying bonding over wet PVA turns it into a barrier rather than a bonding agent, which defeats the point entirely.
Can You Use Bonding Plaster on Painted Walls?
Yes, but the paint has to be properly stuck down. Anything flaking or bubbling needs to come off first. Cross-hatch the surface to give it some mechanical key, and use PVA before you start. Don't assume paint that looks intact is actually adhered. Pull at it. If it lifts, it needs to go.
How to Apply Bonding Plaster
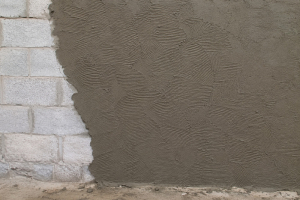
One coat at 8 to 12mm, applied with a trowel and scratched back with a devilling float or comb scratcher before it fully sets. That scratched surface is what the skim keys into later, so it matters. Going on too thin leaves the skim with nothing solid to grip. Going on too thick in one pass risks sagging on vertical surfaces before the material firms up.
Rule the coat flat as you go. Bonding doesn't need to be perfect since the skim handles the surface, but obvious humps will show through. A 25kg bag covers roughly 2 to 2.5m² at 11mm, which isn't a lot. Calculate carefully, account for waste, and order an extra bag rather than running short mid-job.
How Long Does Bonding Plaster Take to Dry Before Skimming?
At least 24 hours under normal conditions. The surface should feel firm and have fully lost its dark wet colour before the finish coat goes on. In cold weather or poorly ventilated rooms, 48 hours is the safer option.
The temptation to push on and skim the same day is understandable, but moisture trapped under an early skim coat has to escape somewhere and it usually finds its way out through the finish. That means cracking, or worse, delamination. If you're working in cold conditions, don't point direct heat at fresh bonding either. Drying too fast causes surface cracking just as reliably as drying too slow.
Order Bonding Plaster Plaster Online at Joseph Parr Bradford
Joseph Parr Bradford stocks bonding plaster alongside browning, multi-finish and the wider range of plastering materials. If you're working out quantities or need same-day stock, come in or get in touch for guidance.